7 Oct 2015
How to make an El Capitan OS X Installer USB Disc
Here is a no fuss list of steps to making an OS X El Capitan USB Installer Disc.
Go to the App Store on your Mac and search for OSX. Click Download.

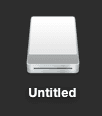
When it has downloaded, insert a USB Disc(that you don’t mind wiping) into your Mac and rename it to ‘Untitled’.
Use the Search tool on your Mac to find and open the application called ‘Terminal’.

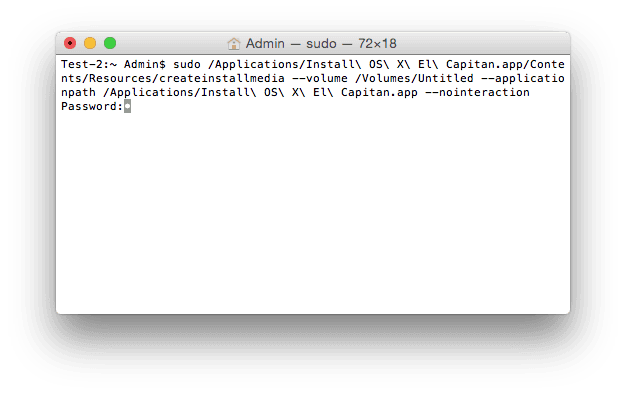
When it launches copy and paste the following text into the Terminal window.
sudo /Applications/Install\ OS\ X\ El\ Capitan.app/Contents/Resources/createinstallmedia --volume /Volumes/Untitled --applicationpath /Applications/Install\ OS\ X\ El\ Capitan.app --nointeraction
Press the return key on your keyboard and enter in your Mac password. Note you will not see it as you type. Press return again to submit your password.
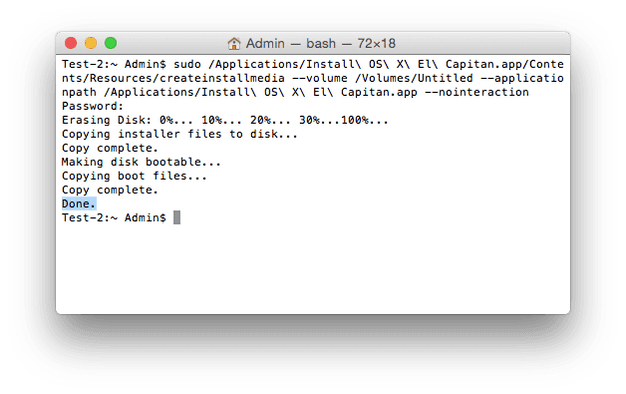
When you see Done at the end, you're Done!!!
Eject the disk and use it on a compatible Mac by starting it up while holding down the alt key. You will then be able to select the new disc and install the latest version of OS X on that Mac.
The OS X Installer Disc is useful in scenarios when you don’t have an internet connection or your connection is slow. Perhaps there is some other reason you can’t use OS X Recovery as discribed here https://support.apple.com/en-us/HT201314
Before performing upgrades or installing a new operating system please always remember to backup your Mac if it has files that are valuable to you.
iSOS supports and maintains software and Apple hardware for organisations that wish to outsource their ICT needs. If your business has outgrown your time and you are seeking expert advice please contact us, we would love to help.
Latest Blog


